Installing the Garage system
Goal
The goal for this post is to install our relay and sensor in the garage
What you need
- The relay and sensor from the previous post
- A project board and some solder
Creating a project board
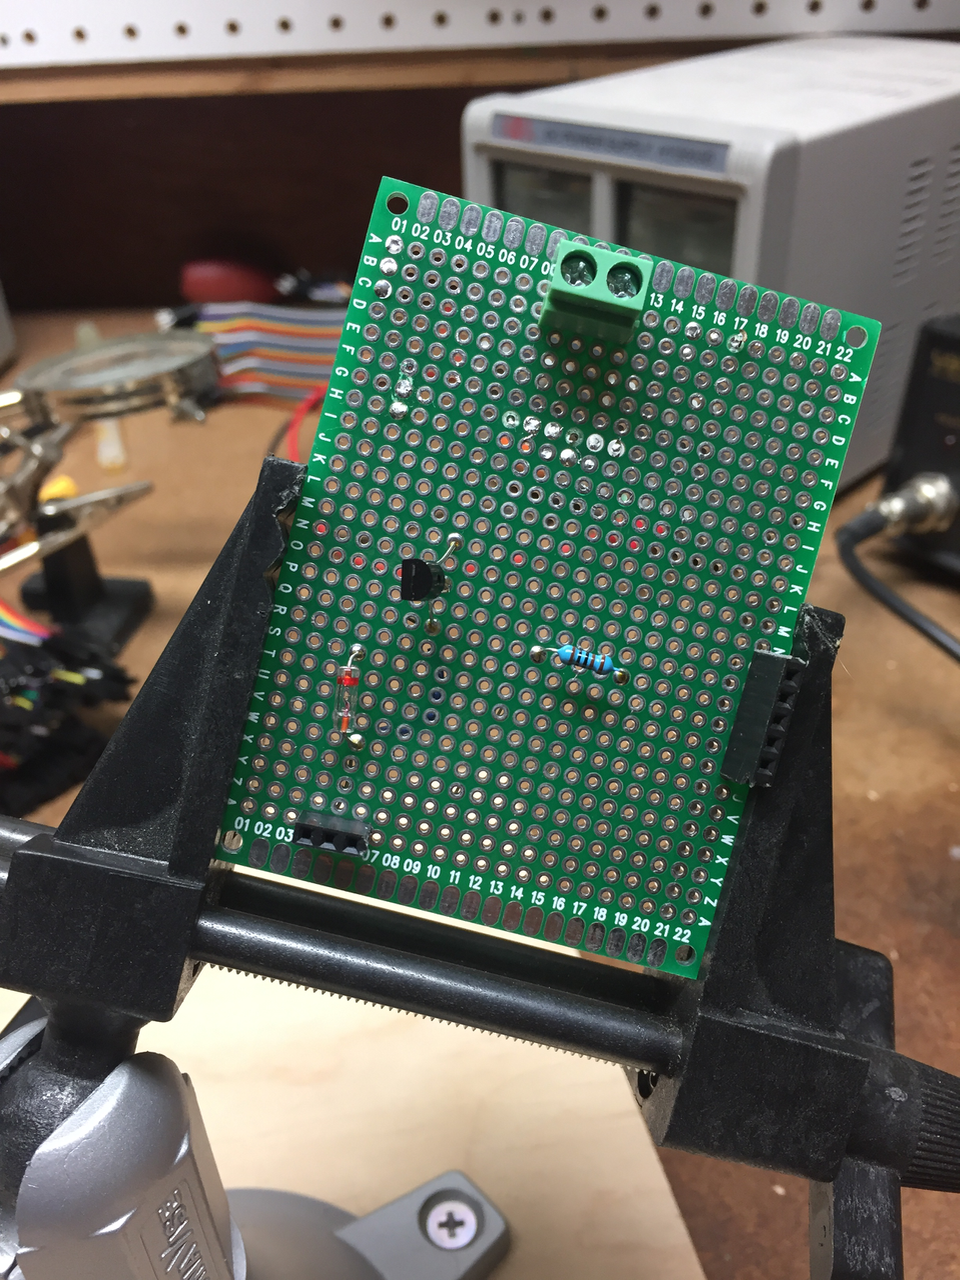
It’s time to transfer the relay and sensor wiring to a project board. Here’s what ours looks like
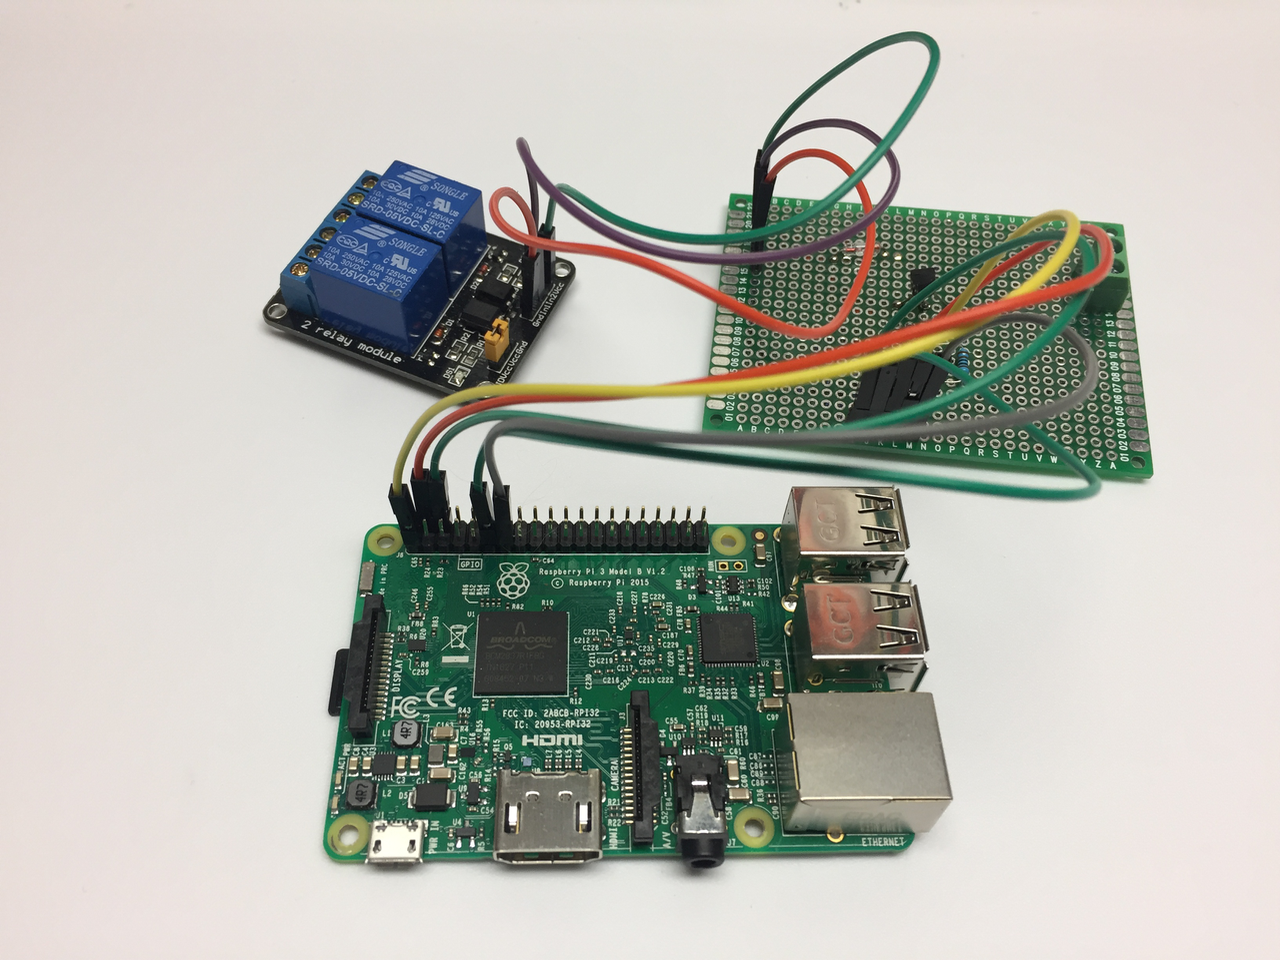
After creating the project board our components look like this.
Install
Install the relay
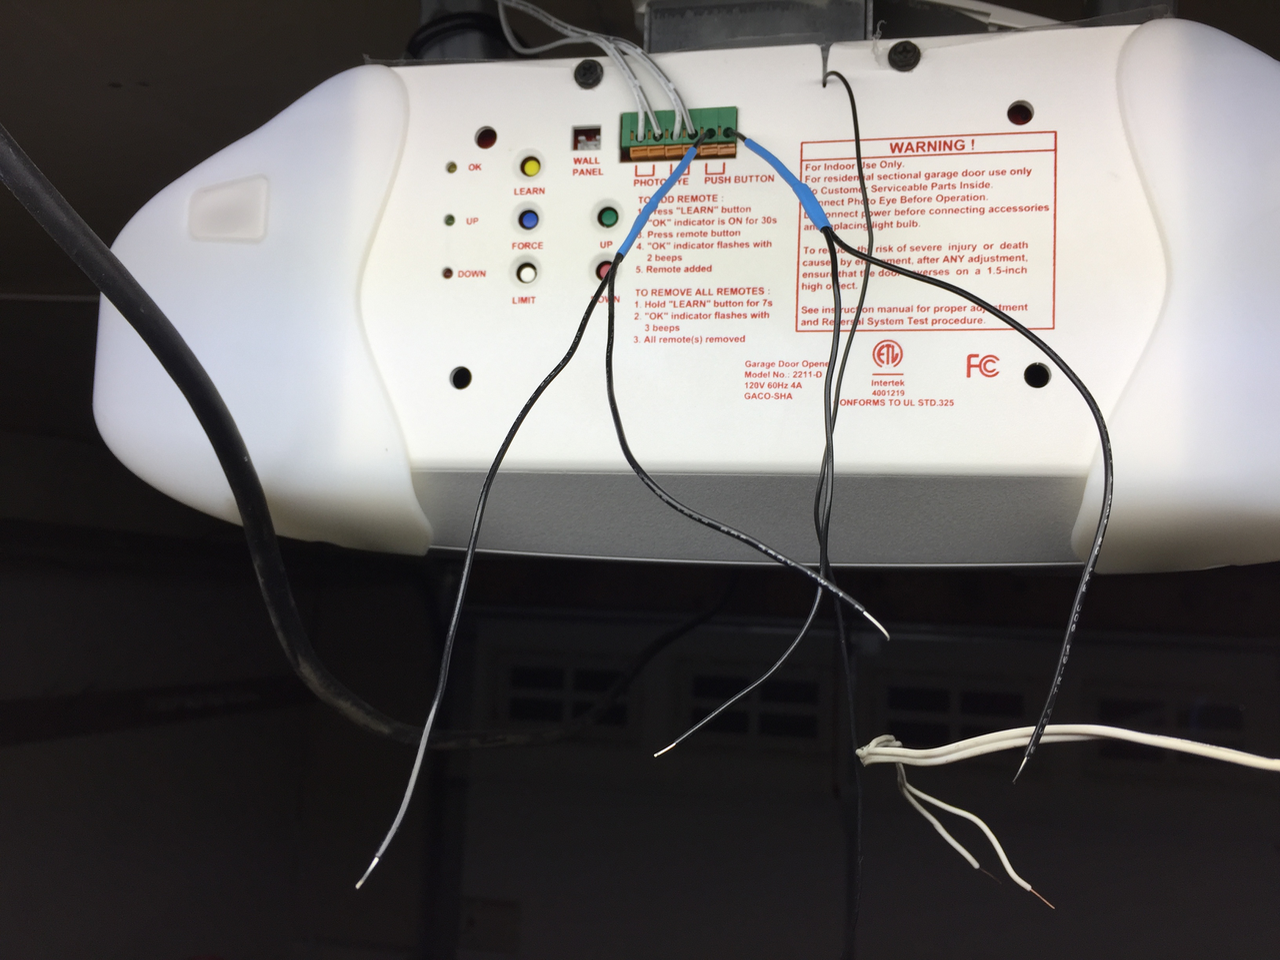
The next step was to connect to relay to our garage door system. Here’s what mine looks like after I popped the panel.

Create a couple of wire splices. Connect one end to your existing switch and one to your relay.
You should now be able to control the garage through your sitemap.
Install the sensor
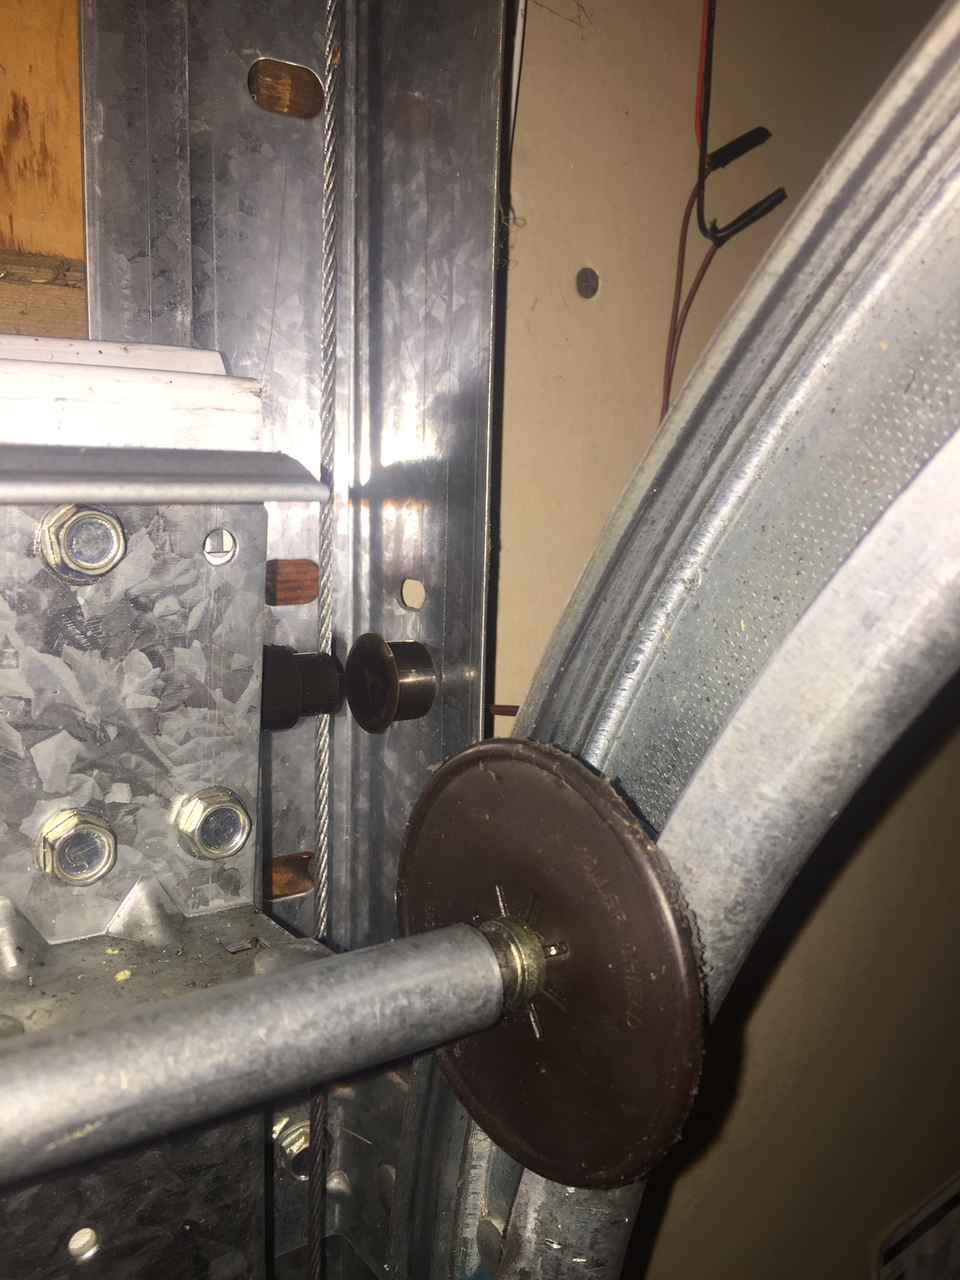
You will need to find a place on your existing garage door where you can install a sensor. I was able to find a spot near the top of my garage door. I needed to drill a hole through some sheet metal.
You should now be able to open and close the door and notice that the sensor has switched from OPEN to CLOSED.
Congratulations! You have now installed a web-enabled Garage door opener!