Setting up your Pi
In this blog post we’ll document unboxing our Raspberry Pi and preparing it to be our home automation hub.
Goal
The goal is to be able to remotely access our Pi by via ssh so we don’t need to be physically present to access our hub.
What you need for this post
- Raspberry Pi 3
- A MicroSD card. We recommend something formatted and preloaded with the Raspbian operating system to avoid having to format and copy over files. Make sure to get something with at least 8gb of capacity
- A 2.5A micro USB power cord and adapter
- An HDMI cable and monitor
- USB Mouse & Keyboard
- A wired (optional) and wireless network connections
- Familiarity with the Linux command line and how to
sshto a remote server
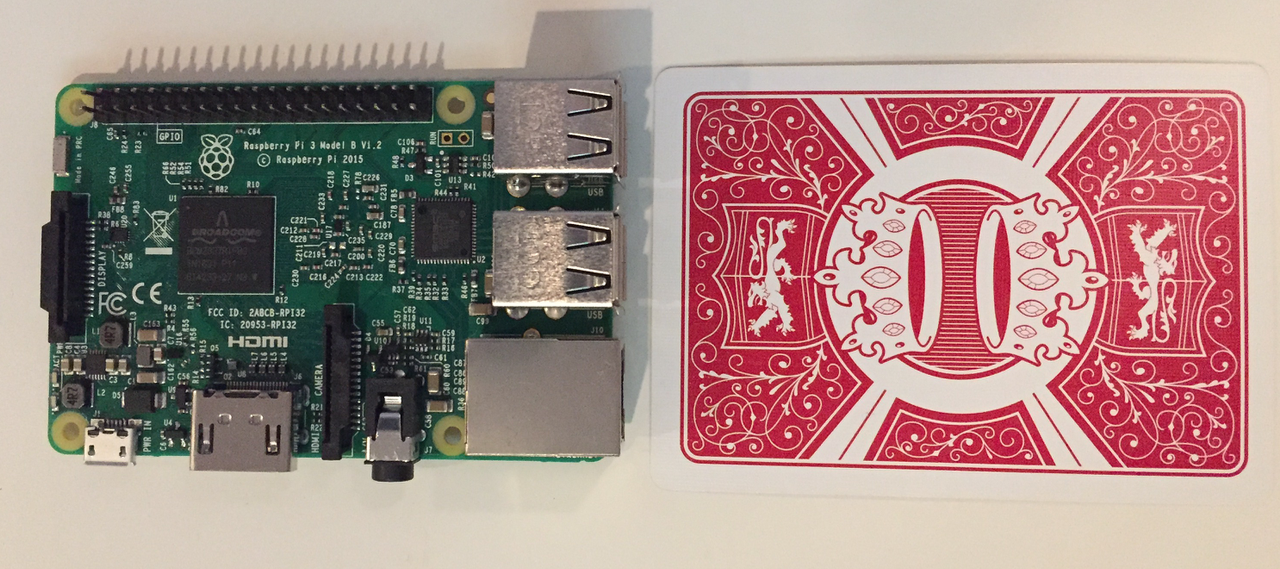
The Hardware
We decided that we would use the Raspberry Pi 3 as the basis for our home automation. The main reasons were the cost (who can beat $40 bucks) and the form factor. This thing is tiny. It has wi-fi and Bluetooth built in as well so there is less wiring for the setup in general. It has a fast processor and can run a Linux, which gives us the ability to install a large amount of freely available software.

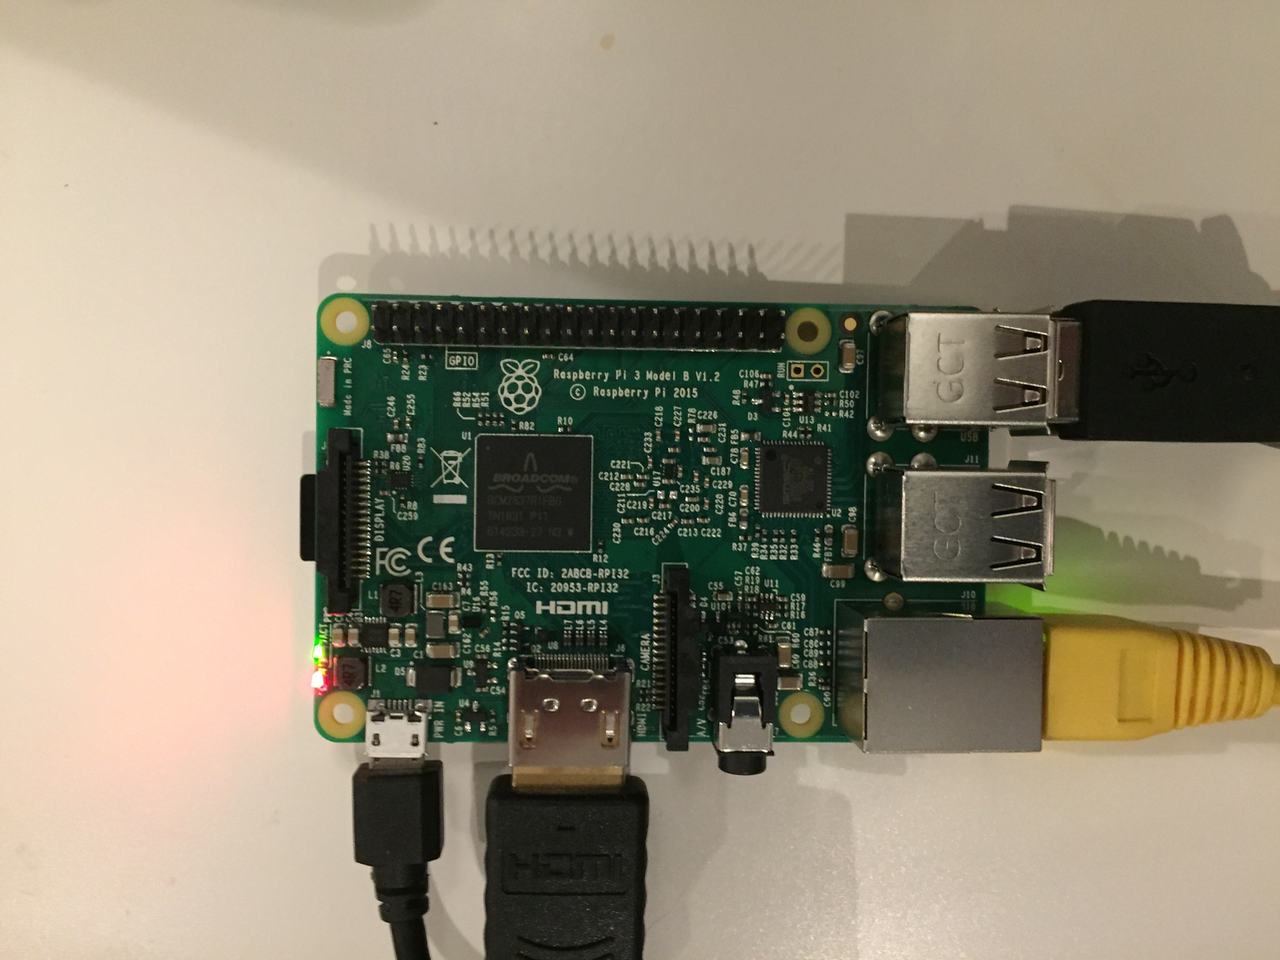
Connect your Pi
After marveling at your tiny new toy it’s time to get to work. Connect your HDMI, network cable, mouse, keyboard, and microSD card (the slot is on the back) into your Pi. If you didn’t buy a preformatted your microSD card you can find instructions on how to download Raspbian here. Finally, plug in your power cable.
After some boot screens you should eventually get to the desktop GUI.
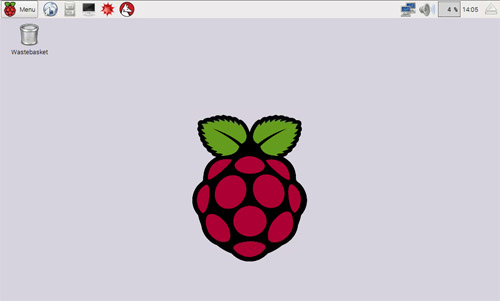
Open the Terminal (find it by clicking on the Menu button on the top left) and we will get start setting up your Pi. First things first, it’s important to do some general setup. Type in:
sudo raspi-config
This will open the configuration tool. Navigate the menu and change your password. After that, and enable the ssh server on your Pi, (it will probably be in interfacing options. Next, setup your wi-fi by clicking on the network icon in the top right hand side of the GUI. You should be able to identify your wi-fi network. Click on it and enter the proper credentials. Test your wi-fi by removing the network cable and running the ping command or opening the GUI browser.
You should now be able to ssh into your Raspberry Pi 3 (from a host on the same wi-fi) with the hostname raspberrypi or raspberrypi.local or by directly connecting to the IP by running sudo ifconfig. The username will be pi and the password will be the one you just configured. If you are having issues with the hostname you might want to take a look at a project called avahi.
$ ssh pi@raspberrypi
pi@raspberrypi's password:

The programs included with the Debian GNU/Linux system are free software;
the exact distribution terms for each program are described in the
individual files in /usr/share/doc/*/copyright.

Debian GNU/Linux comes with ABSOLUTELY NO WARRANTY, to the extent
permitted by applicable law.
pi@raspberrypi:~ $
After you’ve successfully ssh‘ed into your Pi you can remove all cables except for the power cable. Your headless setup should look like this:
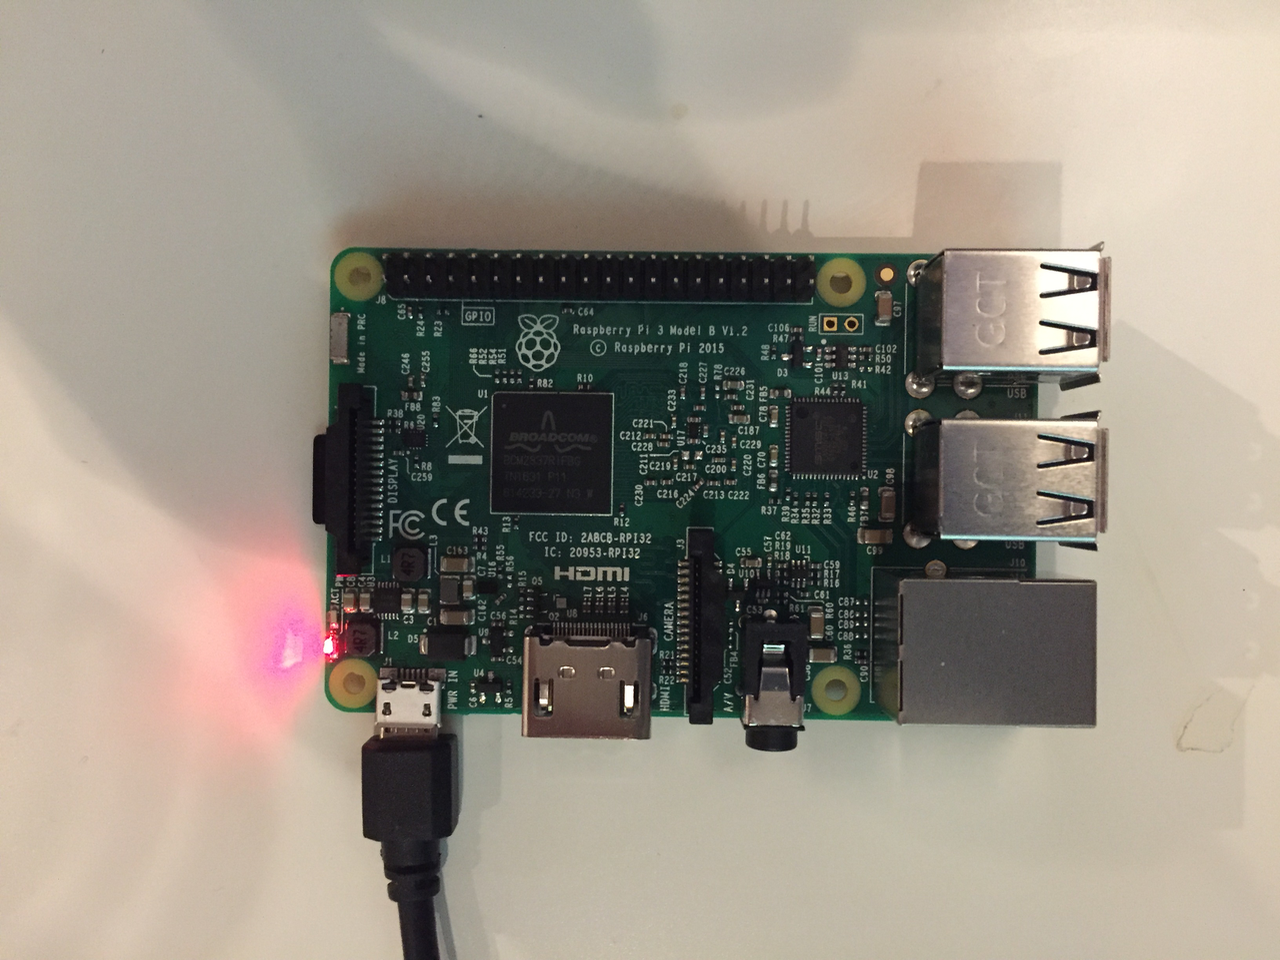
Congratulations! You now have the start to your home automation hub!